If your feed is filled with mesmerizing videos of glowing skin revealed under a gentle scrape of a blade, you’re not alone. Dermaplaning—the technique of exfoliating the skin using a sterile blade to remove peach fuzz and dead skin cells—has become a viral sensation. But now, more people are asking: Can you safely dermaplane at home? And if so, what’s the right way to do it without risking irritation, cuts, or worse?
This dermatologist-edited, science-backed guide will break down what dermaplaning is, who it’s safe for, how to do it at home properly, and when you should leave it to a pro. Whether you’re seeking smoother skin, better product absorption, or just that satisfying post-dermaplane glow, here’s what you really need to know before picking up the blade.
What Is Dermaplaning?
Dermaplaning is a manual exfoliation technique that uses a sterile, single-edged blade (often a scalpel in-clinic or a dermaplaning razor at home) to gently scrape away:
- Dead skin cells on the epidermis
- Vellus hair (aka peach fuzz)
- Surface-level debris and dullness
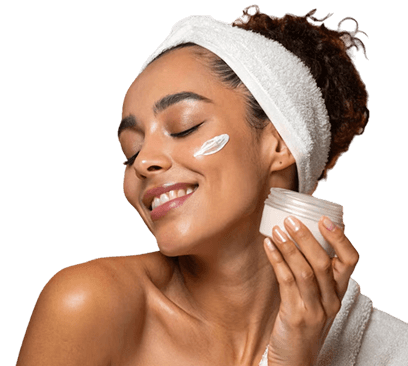
The result? Smoother, brighter, makeup-ready skin—instantly.
Unlike shaving, which typically targets terminal hairs and doesn’t touch the top skin layer, dermaplaning acts like a superficial peel and hair removal session combined.
Benefits of Dermaplaning (Yes, Even at Home)
Done correctly, dermaplaning can offer multiple skincare perks:
- Instantly brighter, smoother complexion
- Improved makeup application (foundation glides on like silk)
- Better product absorption post-treatment
- Gentle, non-chemical exfoliation for sensitive skin
- Reduces the appearance of fine lines and rough texture over time
Pro Tip: Dermaplaning doesn’t make your hair grow back thicker or darker. That’s a myth.
Is At-Home Dermaplaning Safe?
Here’s the truth: it can be—if you’re doing it properly.
At-home dermaplaning uses tools with safety guards and gentler blades than the surgical scalpels used by dermatologists or estheticians. While this makes the treatment more accessible and beginner-friendly, it also means you need to be extra cautious.
Dermatologists generally agree that at-home dermaplaning is safe for healthy, non-reactive skin types, but improper technique, dirty tools, or doing it too often can lead to:
- Skin irritation or redness
- Small nicks or cuts
- Breakouts if done on acneic skin
- Over-exfoliation and barrier damage
So yes, you can do it—but only with the right knowledge, tools, and timing.
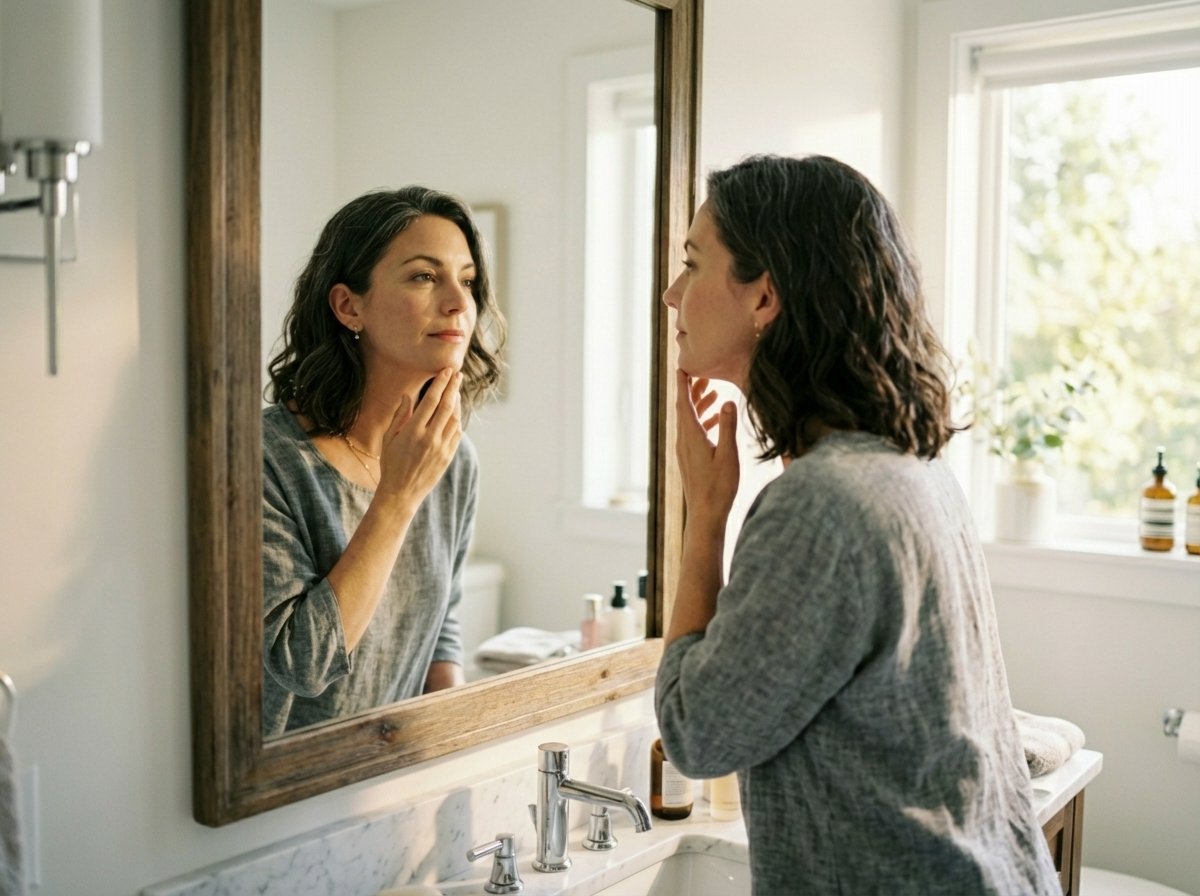
Who Should Avoid Dermaplaning at Home?
Skip DIY dermaplaning (or check with your dermatologist first) if you have:
- Active acne or cystic breakouts
- Eczema, rosacea, or psoriasis flare-ups
- Extremely sensitive or inflamed skin
- A compromised skin barrier (from over-exfoliating or sunburn)
- A history of keloids or excessive scarring
When in doubt, opt for a professional dermaplaning session first to gauge how your skin responds.
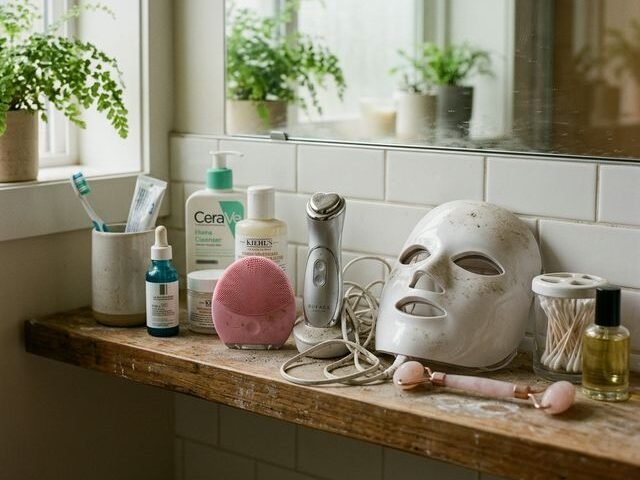
Choosing the Right Dermaplaning Tool
If you’re ready to give at-home dermaplaning a go, start with the right tool:
✂️ Safety Razors (Beginner Friendly)
- Plastic handle with a guarded blade
- Low risk, gentle exfoliation
- Great for maintenance or peach fuzz removal
✂️ Stainless Steel Tools (Advanced Users)
- Closer to pro tools (scalpel-like)
- Requires excellent technique and sterilization
- Can provide deeper exfoliation
Look for:
- Dermaplaning-specific razors, not body or eyebrow shavers
- Sterile, disposable blades or sanitizable handles
- Angled heads for better precision

How to Dermaplane at Home: Step-by-Step
Step 1: Prep Your Skin
- Cleanse thoroughly with a gentle, non-exfoliating cleanser
- Pat dry—dry skin gives the best glide
- Optional: Apply a light hydrating mist (skip oils unless your tool is designed for it)
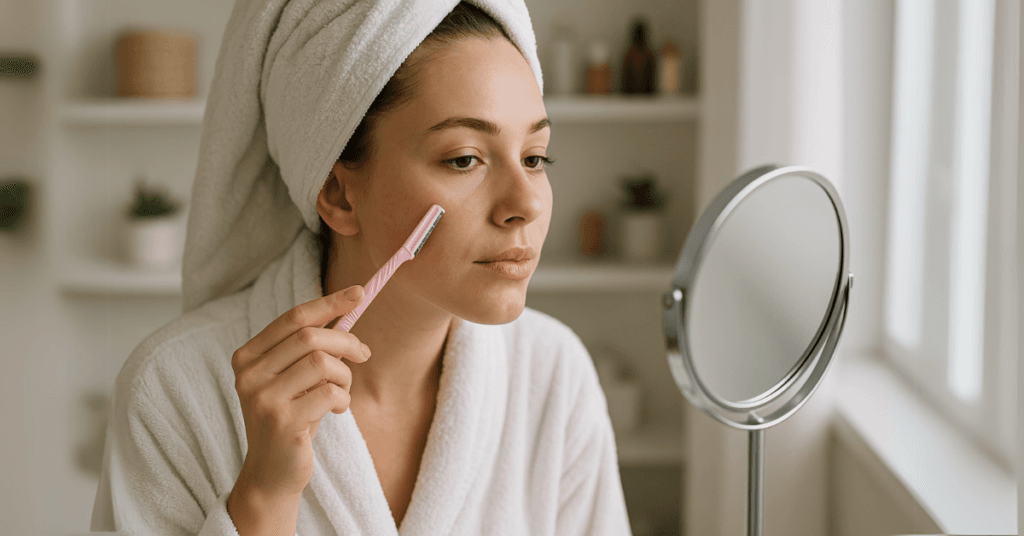
Step 2: Use the Right Technique
- Hold skin taut with one hand
- Hold blade at a 45-degree angle with the other
- Use short, downward strokes with light pressure
- Work in sections: forehead, cheeks, jawline, chin
- Avoid eyelids, lips, nostrils, and broken skin
Do not go over the same area more than once. If you feel tugging, stop and reassess your angle or pressure.
Step 3: Aftercare
- Rinse gently and pat skin dry
- Apply a hydrating serum (think hyaluronic acid or peptides)
- Lock in with a non-comedogenic moisturizer
- Sunscreen is non-negotiable for at least 72 hours post-treatment
What Not to Do After Dermaplaning
- No retinoids or strong acids for 2–3 days
- Skip scrubs or exfoliating masks
- Avoid heavy makeup for 24 hours
- Don’t touch your face with unwashed hands (increased bacteria risk)
How Often Should You Dermaplane at Home?
Once every 2–4 weeks is ideal.
Why?
- That’s the natural cell turnover cycle
- Overdoing it can strip the barrier, increase sensitivity, and lead to breakouts
More isn’t better here—consistency and moderation win.
At-Home vs. Professional Dermaplaning: What’s the Difference?
| Feature | At-Home | In-Clinic |
| Tool Type | Guarded blade or razor | Surgical scalpel |
| Depth of Exfoliation | Superficial | Deeper and more thorough |
| Add-ons | Minimal | Enzymes, peels, masks, LED therapy |
| Risk of Injury | Low if done right | Minimal (licensed pros only) |
| Cost | $5–$30 | $80–$250 per session |
Pro dermaplaning offers deeper results and additional treatments, but at-home is a great maintenance option between visits.
Common Dermaplaning Myths—Busted
“Hair grows back thicker and darker.”
Nope. Vellus hair has a different structure than terminal hair and won’t change because of dermaplaning.
“It causes acne.”
Dermaplaning can actually help prevent clogged pores—if not done on active acne.
“It replaces all exfoliation.”
Not quite. It’s a form of physical exfoliation and doesn’t replace chemical exfoliants, which work deeper. Balance is key.
“You need a fancy blade to get results.”
The best results come from technique + skin prep, not the most expensive tool.
Best Products to Pair with Dermaplaning
Before:
- Gentle foaming or gel cleanser
- Alcohol-free toner (optional)
After:
- Hydrating serums: Hyaluronic acid, peptides, panthenol
- Barrier support: Niacinamide, ceramides, squalane
- SPF 30+ (and reapply if going outside)
Avoid strong actives (AHA, BHA, retinol, vitamin C) for 48–72 hours post-treatment.
Final Thoughts: Glow Smart, Not Reckless
So, is dermaplaning at home safe? Yes—when done properly, on the right skin, and with respect for the blade.
It can be a game-changer for texture, glow, and product absorption. But it’s not a free-for-all. This is still a blade on your face, and like all tools, its effectiveness depends on the user.
Start slow, prep properly, avoid overdoing it, and when in doubt—see a pro.
Because glowing skin is great. But glowing and healthy skin? That’s where real skincare wisdom lives.